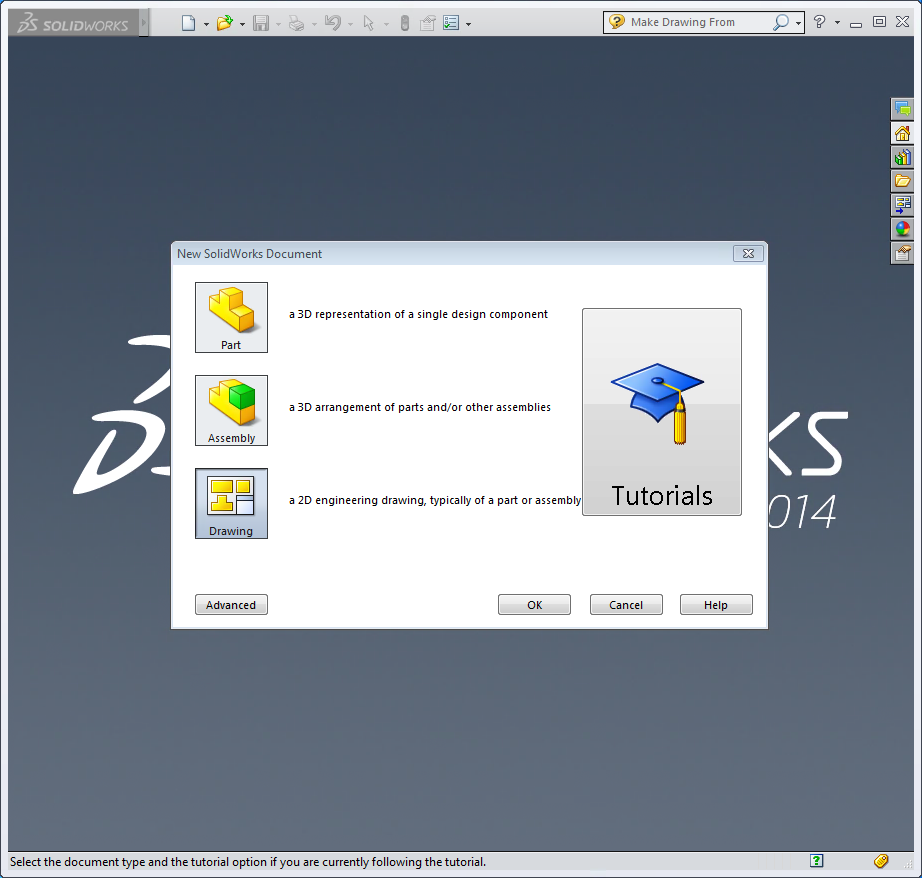
But you can see, I can cut into the material, and you can see it's hatched now, showing that I've sliced through the material at this location here called BB. Now, it's overlapping this other one here, so let's move those over. But if I click on okay, it shows me a section view right there where I want it. And notice as soon as I do that, it gives me this little dialogue box. And this case here, I'm just going to section it right here. I can choose if I want to section it horizontally, vertically, or at some funny angle. If I want to cut something in half and look inside, that says section to me. I'm going to delete it for right now though. So notice I chose this face here, or this little edge here to project. If you've got something at a funny angle, I can choose one of these auxiliary lines and then project along that line. But most of the time, you're going to click on the button that says make drawing from part or drawing from assembly, so you're not going to really need to bring in additional models unless you have multiple models on a drawing. If we didn't have a model in our assembly, we can bring a model in by using that model view.

So I've got three standard views, which is automatically just put those three views in for us. So in this case here, I'm going to place it to the right.

Now I go up here to view layout, and I can click on projected view, which is going to take this, and it's going to do a isometric projection to the right, to the top, to the bottom, to the right, or isometric. First off, I've got a top view of my part right here. So let's go through the basics so we can make sure that we're familiar with all of them. On the exam, a lot of times, there's going to be questions asking us to identify different drawing views.


 0 kommentar(er)
